How to Create a Theme in Liferay
Published: – Updated:
The article is written by mutual efforts of Vitaliy, Senior Liferay Developer, and Alina, Writer.
What does every business long for? To present their users with the overall intuitive and exceptional look and feel for a site. In general, you have to hire a designer and front-end developer for this piece of work. However, Liferay provides you with a ready-made solution in the form of default or custom themes that can contribute to the overall enhancement of your website’s exterior constituent.
What does a developer long for? To use such out of the box solutions right to complete their job in less time than ever. In this article, I’ll tread the path of custom theme development in Liferay, so that you’ll learn all the technical aspects and pitfalls of their building, and the required tools necessary for successful completion of the set task. So, let’s answer the question of how to create a theme in Liferay 7 by following together this step by step guide.
What is a Liferay theme
Liferay Theme is a web application, which helps you develop a graphical appearance for the portal pages. It contains a set of FreeMarker templates, JavaScript and CSS, configuration, and resources/images files. With a theme, you can define both a structure for your page (header, footer, content area, etc.) and it’s styling. You can also set up different configuration options with color schemes and corresponding settings, implement responsive design, provide personalization features, or even import required resources to the portal with a theme.
Luckily, the platform already comes up with a set of built-in themes that you can use for your portal. But, if you’re about to create a site, you obviously want to have a unique and beautiful design to make your site stand out among the rest of the competitors. That’s why it’s really important to invest in a theme, and that’s why almost every Liferay project starts with a DXP theme development.
Required instruments and tools for Liferay theme development
When you’re building the facade of a house or any other architectural piece, you require the most efficiently working toolkit that will meet all your needs just right. When you’re about to create a custom theme in Liferay from scratch, you’ll need a great technology stack to obtain a desirable design. I suggest you take a look at the list of the following instruments and tools that will help you create, develop, and deploy your own theme.
- Integrated development environment (IDE): you may use any one you like, but I’d recommend IntelliJ IDEA.
- Java: as Liferay is a Java-based portal, you need Java to be installed. Its latest version (7.3) requires Java version 8+.
- Liferay Workspace – the environment to manage projects created on this platform.
- Node Package Manager (npm).
- Liferay Theme Generator – node package, that allows you to generate new themes.
- Yeoman– a web scaffolding tool.
- Gulp – task runner that lets you automate development tasks
IDE, Liferay workspace and bundle configuration
Note: at this point, you should already have installed the IntelliJ IDEA, Java, and Node.js/npm.
To start creating a custom theme in Liferay 7, we need to prepare the environment first: set up the IDE and Liferay workspace, and configure the Liferay bundle.
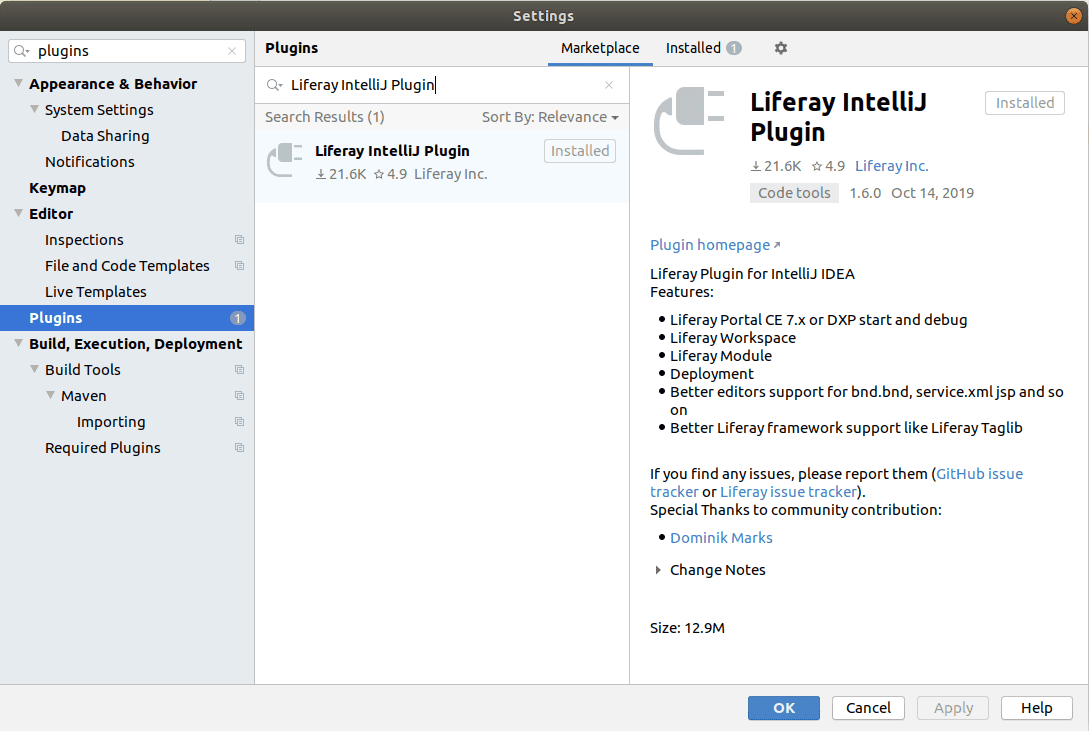
If you’re using the IntelliJ IDEA, install the Liferay IntelliJ Plugin. This will give you the platform’s workspace support, modules, and server support:
Now you can create a new Liferay project using the plugin.
Go to “File -> New -> Project…” and choose “Liferay”:
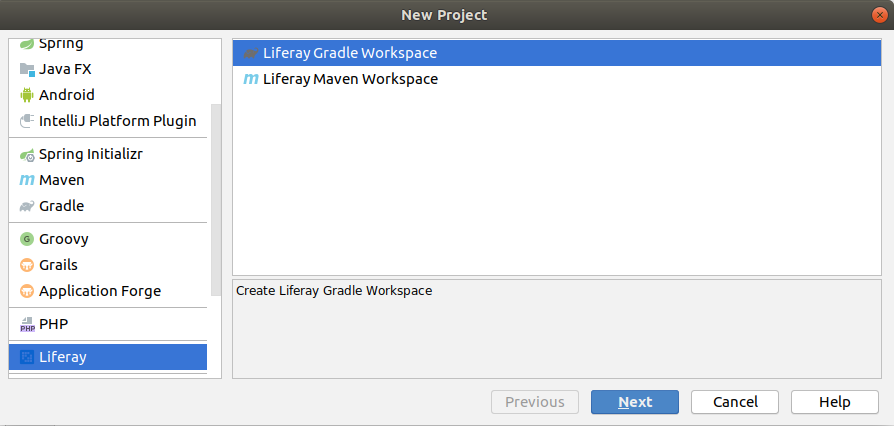
This “Liferay” menu is added by Liferay IntelliJ Plugin and lets you create a project as Liferay workspace. Here you can use two options: Gradle or Maven workspace, depending on the build tool you want to use. If you’re not sure, leave Gradle selected, since it’s more frequently used by Liferay developers.
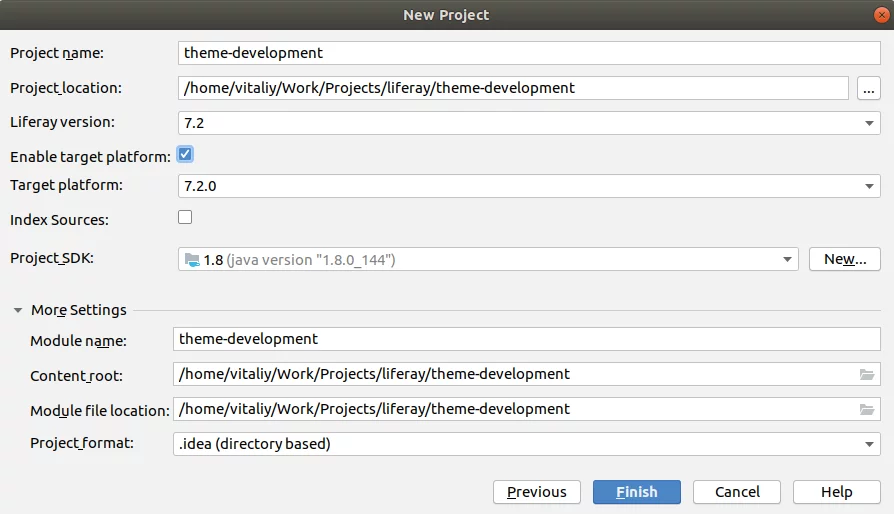
Click “Next” and complete the project creation:

Set here the project name and location, specify Liferay version and SDK, and click “Finish” to complete the project creation process.
Note: the latest version of the platform may not be available in selection because the current plugin version does not support it yet. However, it’s not a problem: you may select the latest available one, and then change to the version you need in the workspace configuration properties.
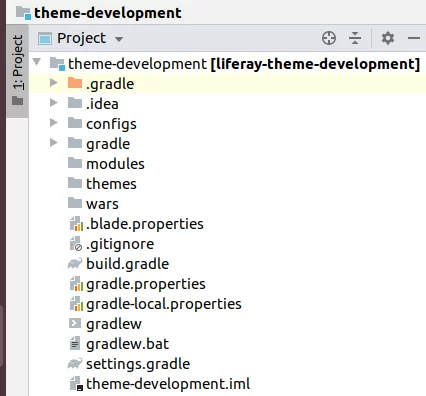
At this stage you should already have a Liferay workspace:
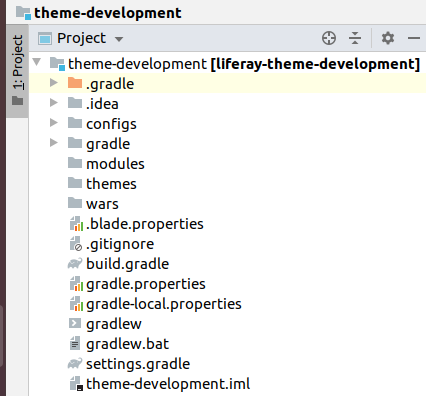
It’s time to make the configuration adjustments: enable the target platform, set the correct version and bundle URL. For example, you need to configure your workspace to use Liferay 7.3. For this, you need to change the version in the .blade.properties file:
liferay.version.default= 7.3
Also adjust the properties in gradle.properties file:
liferay.workspace.target.platform.version= 7.3.0
liferay.workspace.bundle.url= https://releases.liferay.com/portal/7.3.0-ga1/liferay-ce-portal-tomcat-7.3.0-ga1-20200127150653953.tar.gz
Here you enabled the target platform (it will simplify the dependencies management, as dependencies will be taken from the Liferay’s BOM) and set the URL for the bundle (it’s required for Liferay server setup). You can check the list of available releases here: Liferay releases. Choose the version you need, and set the link to the platform’s archive bundled with tomcat.
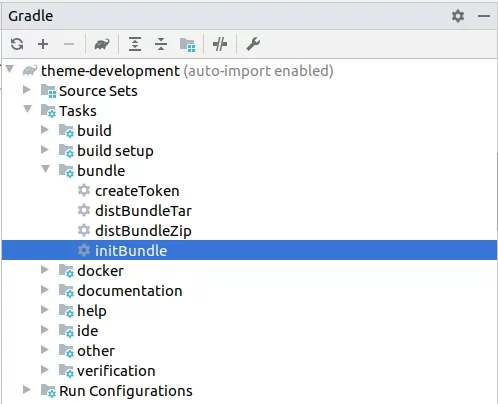
Now it’s time to set up a Liferay bundle. Run the “initBundle” Gradle task:
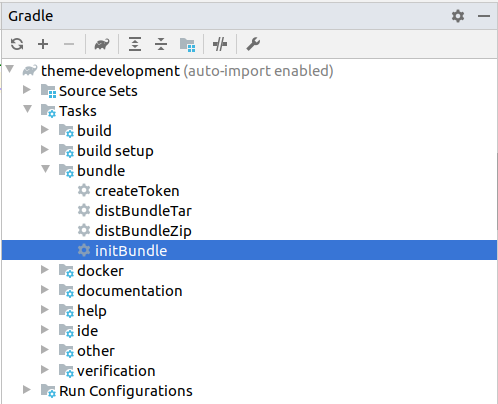
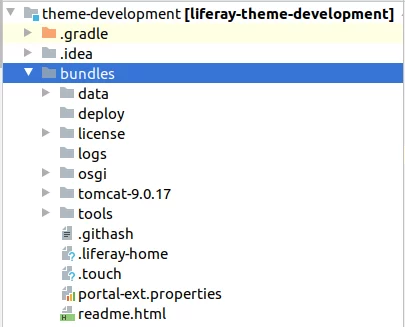
and wait until the bundle is downloaded. You should have a “bundles” directory with the Liferay:
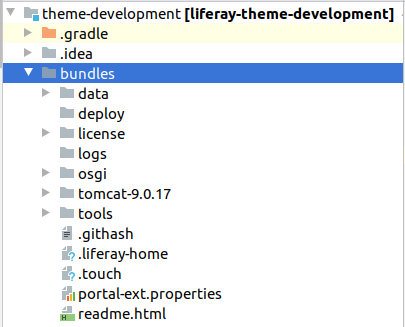
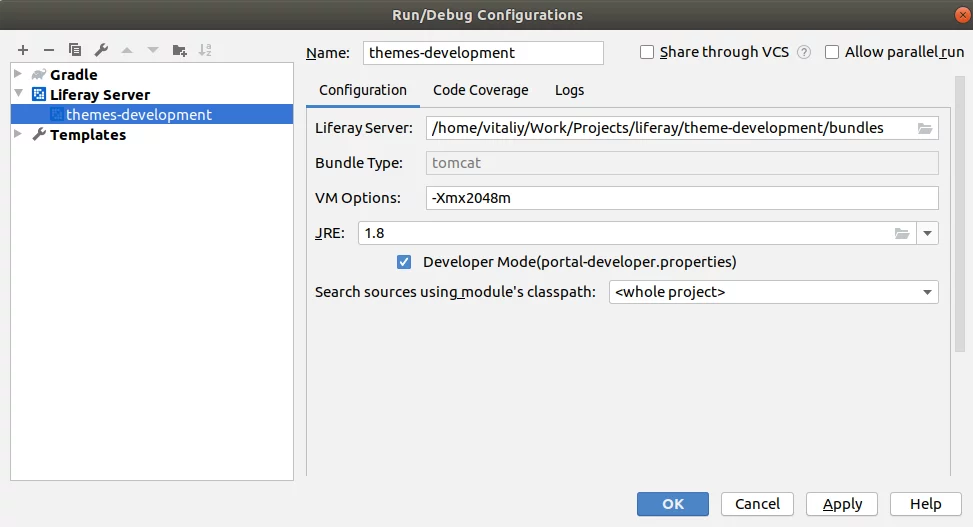
Now you can set up the Liferay Server. Go to “Run/Debug Configuration” and add a new server pointed to the “bundles” directory:

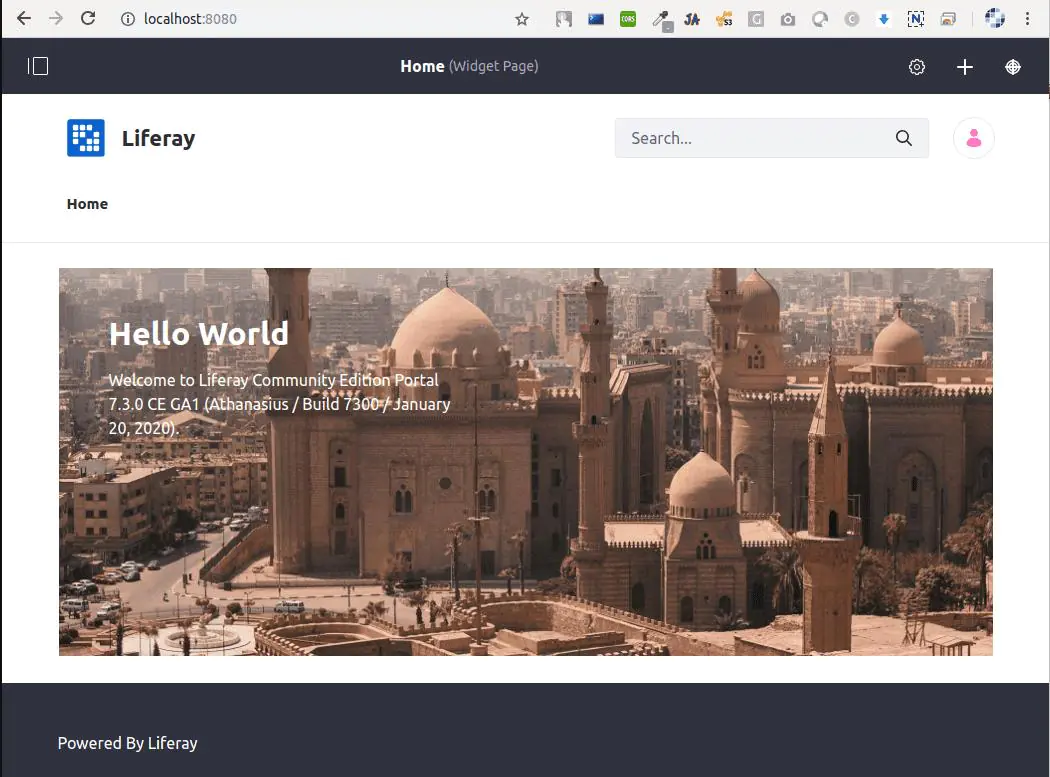
Next steps will be to start the platform’s server, open http://localhost:8080 URL where you will see the start Liferay page, after a couple of configuration steps:

Now that you have the Liferay server with IDE and configured workspace is settled, you can start the theme creation.
Liferay DXP theme development process
Note: before its creation, make sure you already have Node.js and npm installed: (you may also need to upgrade them, if you’re using old versions)

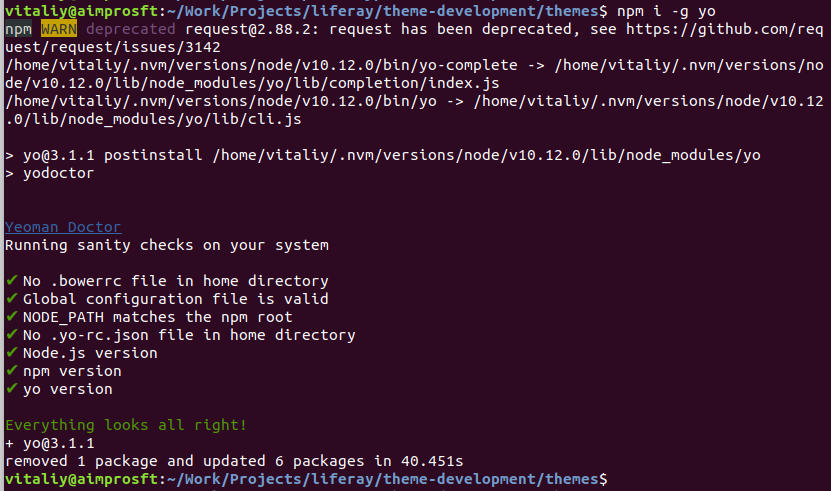
There are different ways to build a Liferay DXP theme. But modern developers, who specialize in this technology, usually leverage the Theme Generator. You need to install it globally with the npm i -g generator-liferay-theme command:

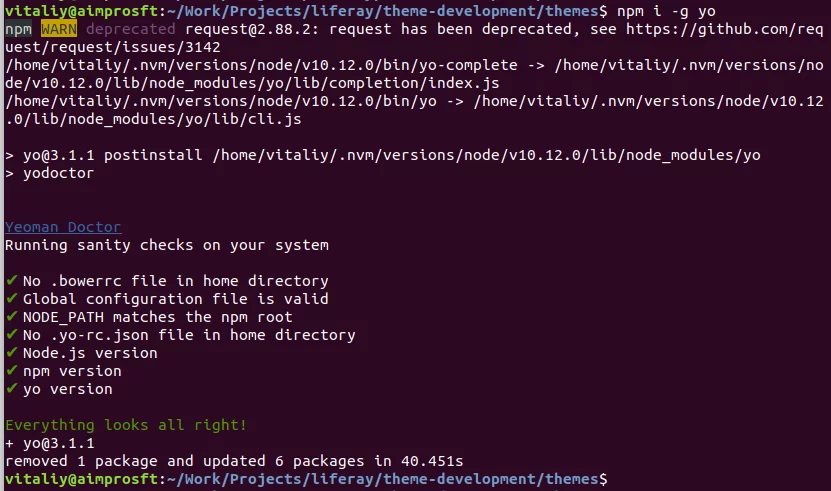
And you’ll also need to install Yeoman with npm i -g yo command:
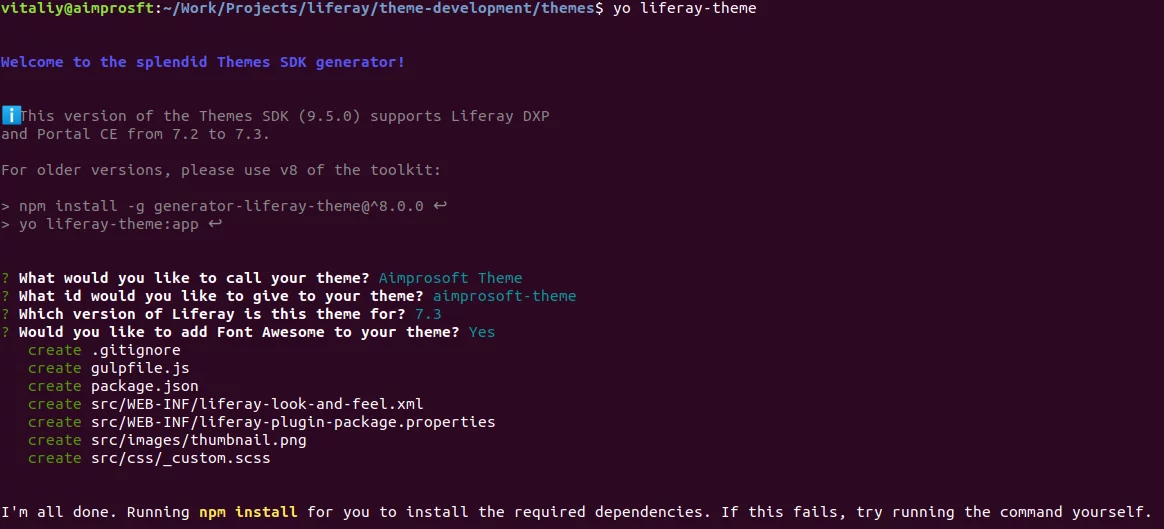
To create a theme, navigate in terminal to the “themes” directory of the platform’s workspace. Now you can create it with yo liferay-theme command:
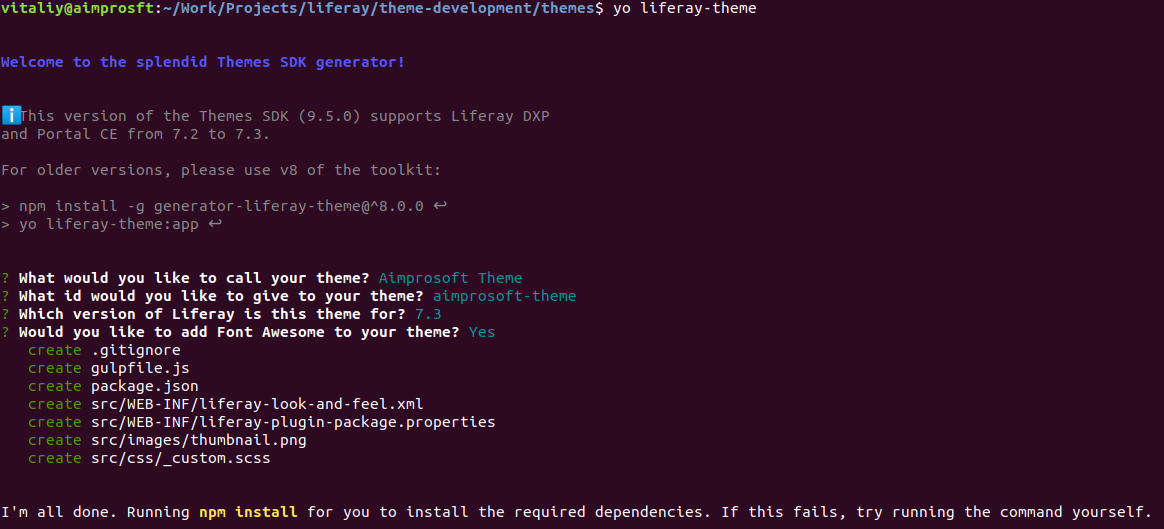
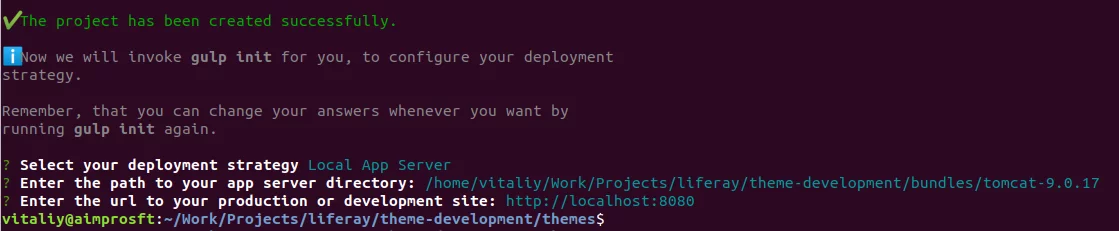
Answer required questions: set theme name and ID, choose Liferay version, and indicate whether to include Font Awesome into the theme. Wait until it is created. At the end, you’ll be asked a couple of additional questions:
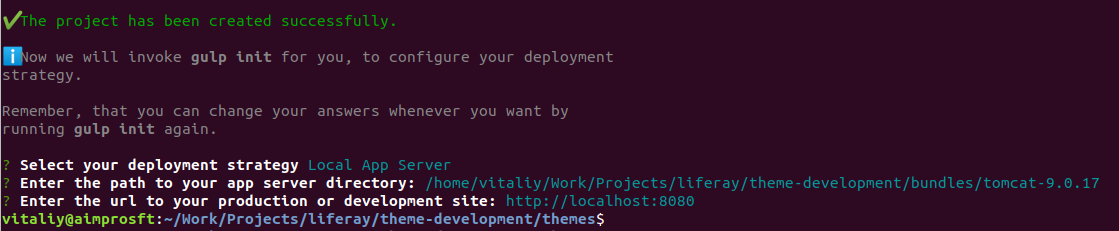
Leave the “Local App Server” strategy, specify the path to tomcat’s directory (inside bundles) as the app server directory, and leave http://localhost:8080 as a development site.
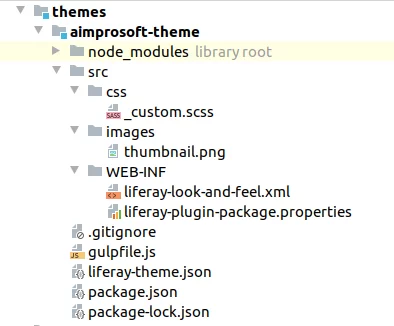
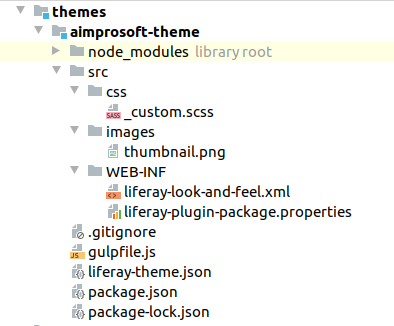
At this point, your theme should already be created, and you may start the Liferay DXP theme development:
Pay attention to “liferay-theme.json” file. and make sure local paths are defined correctly:
1 2 3 4 5 6 7 8 9 10 11 |
{ "LiferayTheme": { "deploymentStrategy": "LocalAppServer"‚ "appServerPath": "/home/vitaliy/Work/Projects/liferay/theme-development/bundles/tomcat-9.0.17"‚ "deployPath": "/home/vitaliy/Work/Projects/liferay/theme-development/bundles/deploy"‚ "url": "http://localhost:8080"‚ "appServerPathPlugin": "/home/vitaliy/Work/Projects/liferay/theme-development/bundles/tomcat-9.0.17/webapps/aimprosoft-theme"‚ "deployed": false‚ "pluginName": "aimprosoft-theme" } } |
Note: this file is usually under Git ignore. It’s a common practice to create its copy as liferay-theme.json.bk, and push it into Git, so other developers can rename it and use it for local development.
Theme build and deployment
To build a theme, you need to navigate to its folder in a command line, and install Gulp first:

Now you should be able to build and deploy it with Gulp: run gulp build command, and then run gulp deploy:

You’ll see the message indicating that the theme is deployed to the deploy directory. You may check the Liferay logs to make sure that the theme has been deployed:
2020-02-20 11:08:19.074 INFO
[fileinstall-/home/vitaliy/Work/Projects/liferay/theme-development/bundles/osgi/war][BaseAutoDeployListener:50] Themes for /home/vitaliy/Work/Projects/liferay/theme-development/bundles/tomcat-9.0.17/temp/20200220110817363GTRASGOF/aimprosoft-theme.war copied successfully
2020-02-20 11:08:20.724 INFO
[fileinstall-/home/vitaliy/Work/Projects/liferay/theme-development/bundles/osgi/war][ThemeHotDeployListener:108] 1 theme for aimprosoft-theme is available for use
2020-02-20 11:08:20.808 INFO
[fileinstall-/home/vitaliy/Work/Projects/liferay/theme-development/bundles/osgi/war][BundleStartStopLogger:39] STARTED aimprosoft-theme_1.0.0 [1112]
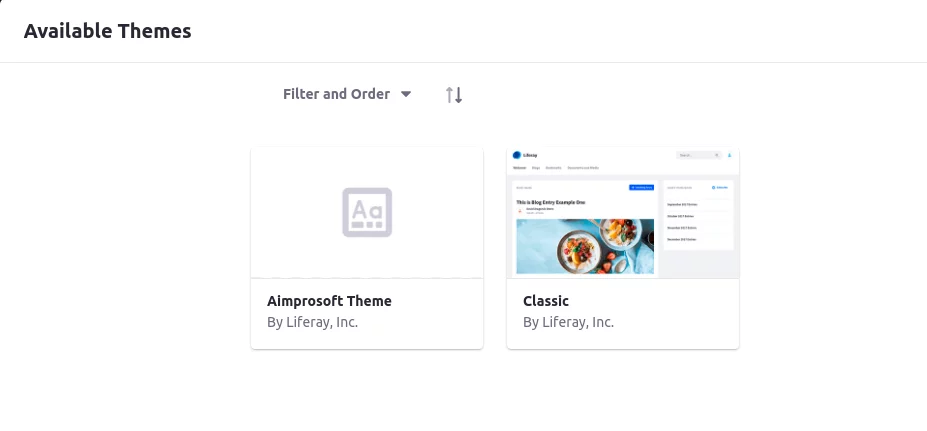
Once the theme is deployed, you may apply it to a portal page. Go to page configuration and click “Define a specific look and feel for this page.” Click “Change Current Theme,” and you’ll see it among the available ones:
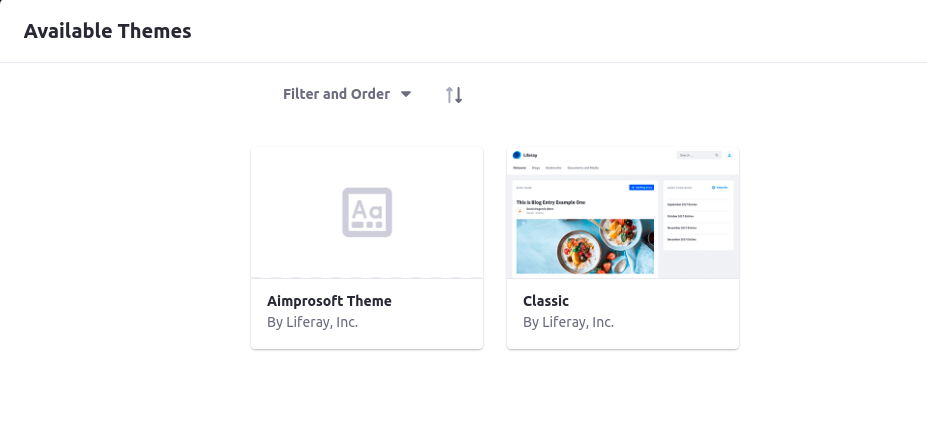
Choose your theme and save the configuration. Check it on the page:
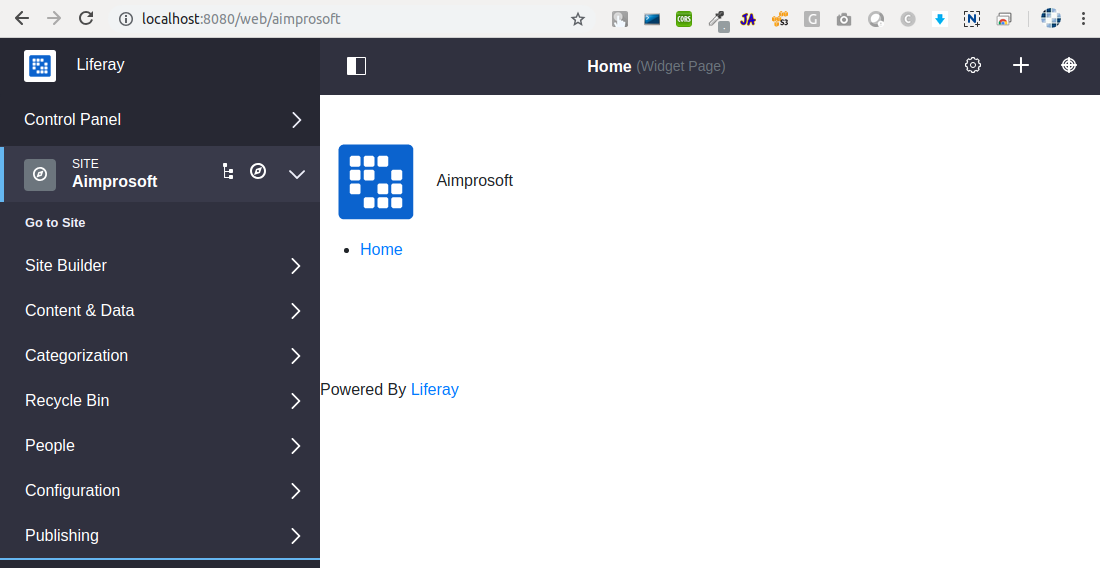
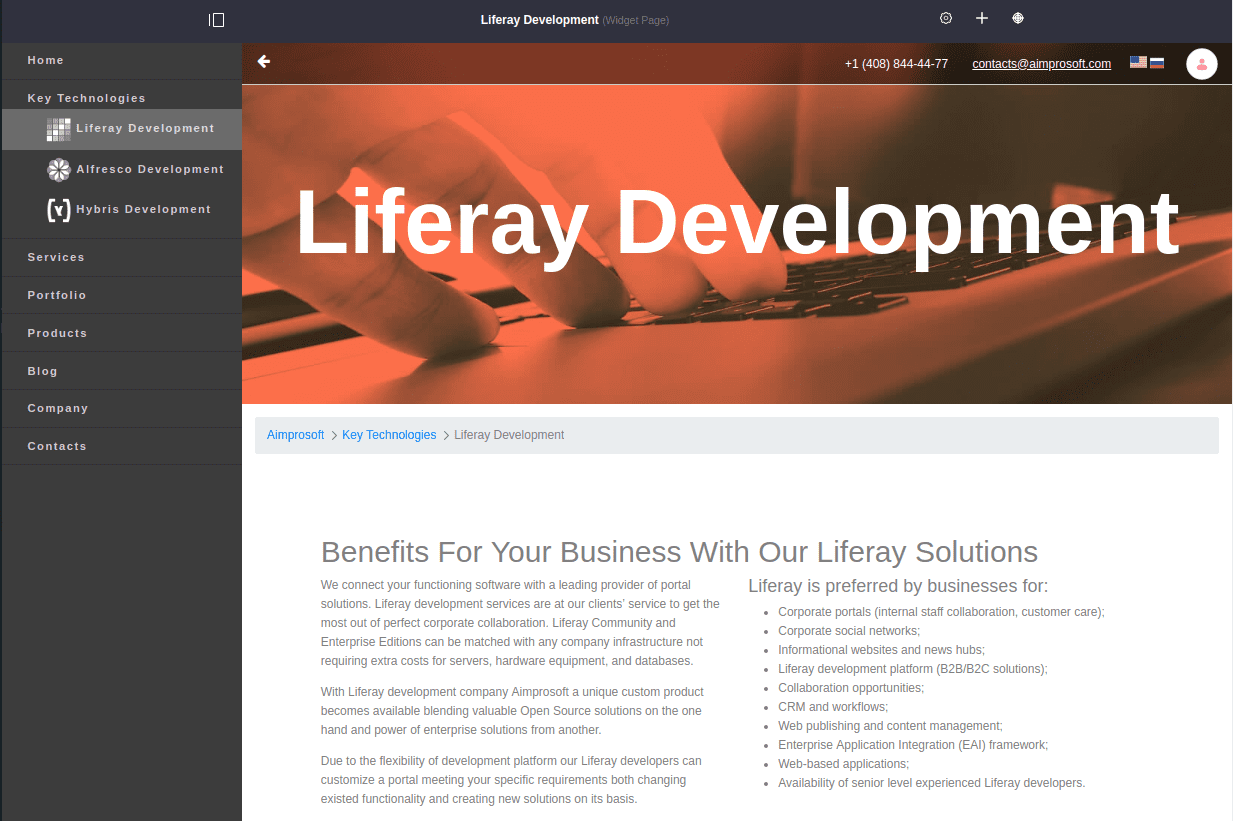
Of course, it does not look pretty cool so far, because it’s empty based on the platform’s built-in “styled” one. But you can make the theme look smart with the adjustment to its templates and CSS files. Here is the Liferay 7 theme development example:
Conclusion
Theme creation is one of the most crucial steps in the Liferay development since the look of the website defines your product in general. With an appealing theme, you can potentially increase the conversion rate, reduce customer churn, and attract new visitors.
The latest platform’s versions enabled its users to transform out-of-date appearance of the website easily. The whole theme creation process has become more straightforward and intuitively understandable. I hope this article guided you in the right direction and helped to figure out the type of tools that should be used and in which way.
If you have an upcoming theme project and feel that this Liferay theme development tutorial wasn`t enough for you, or you simply want to share your thoughts on the topic, drop us a line. Our tech-savvy specialists will be glad to share their vision and expertise.
Frequently Asked Questions
Why do I need a theme for my Liferay portal?
What is the preferred way to create the theme?
Currently, the most common way is to build a Liferay DXP theme with a “liferay-theme-generator” and build/deploy it with gulp.js.
However, you can also generate and deploy a theme using the Liferay Workspace — Maven or Gradle.
Is it mandatory to have a theme for your site?
No, the latest Liferay versions provide a new user experience, which allows content editors to build the portal pages using the fragments with defined structure and styles.
However, using a theme is a recommended approach because this way all the styling is structured and organized.